How to Clean Your Ice Maker the Right Way (Without Damaging It)

Have you ever noticed a strange smell coming from your ice maker?
Or found that your ice tastes… a little off?
You’re not alone.
Over time, ice makers can collect mold, mineral buildup, and bacteria — all without you even realizing it.
And the worst part?
Dirty ice makers don’t just affect the taste of your drinks — they can actually impact your health.
The good news?
Cleaning your ice maker is easier than you think — and you don’t need fancy tools or hours of scrubbing.
In this guide, I’ll walk you through the exact, safe steps you need to clean your ice maker properly, keeping your ice fresh, your machine healthy, and your mind at ease.
Let’s dive right in!❄️
Why Cleaning Your Ice Maker Matters
Over time, even the best ice makers start to collect more than just ice.
Mineral buildup from hard water, mold growth from trapped moisture, and lingering bacteria can quietly take over, affecting both the taste and safety of your ice.
A dirty ice maker isn’t just a minor inconvenience.
It can turn into a health risk, causing bad odors and strange-tasting ice — a clear sign that your ice maker smells bad and needs urgent cleaning.
Regular cleaning doesn’t just protect your ice — it protects your health, keeps your machine running efficiently, and extends the life of your investment.
What You’ll Need to Clean Your Ice Maker
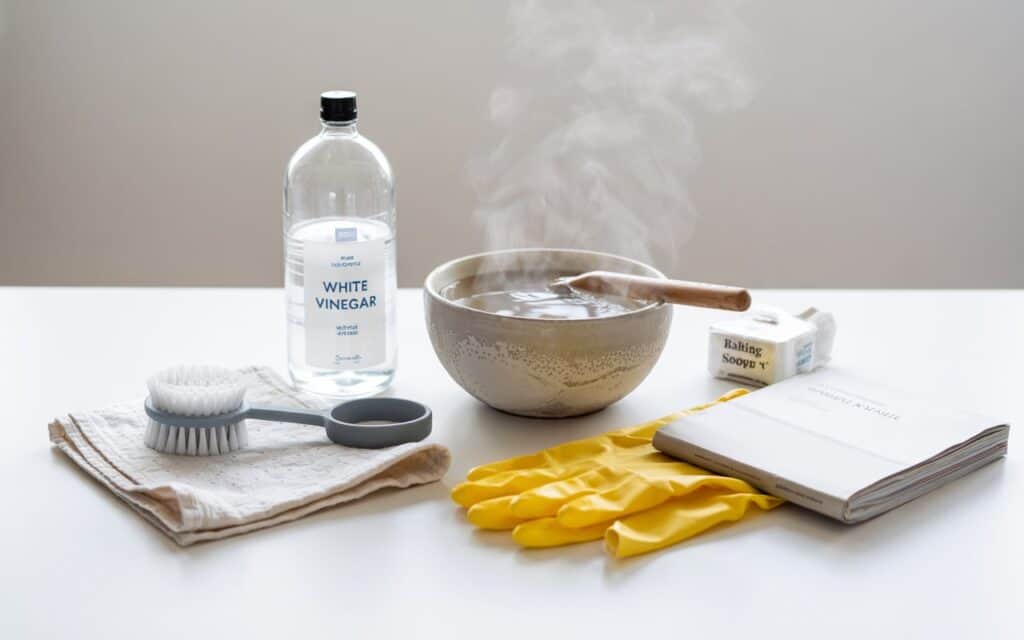
Before you start, make sure you have everything you need ready.
Having the right supplies at hand will make the process faster, safer, and much easier.
Here’s what you’ll need:
- White vinegar (or a specialized ice maker cleaner)
- Warm water
- Soft cloth or sponge
- Small soft-bristle brush (like an old toothbrush)
- Baking soda (optional, for deeper cleaning)
- Rubber gloves (optional, if you prefer)
- Owner’s manual (recommended for any specific cleaning notes)
Important:
Always unplug your ice maker before cleaning to avoid any electrical hazards.
Ice Maker Cleaning Instructions (Step-by-Step for Countertop Units)
This process works for most machines, whether you have a built-in model or a portable ice maker sitting on your countertop.
Step 1 – Unplug and Empty Your Ice Maker
Always start by unplugging your machine to avoid any electrical hazards.
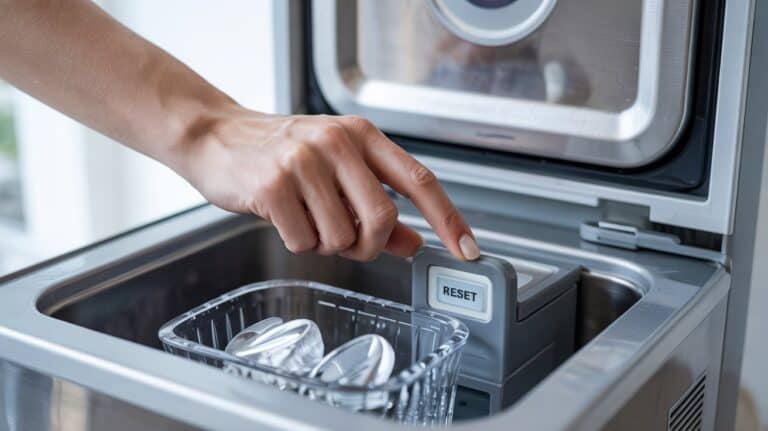
Remove any ice remaining in the basket and pour out any water still in the reservoir.
Taking these steps early prevents moisture from mixing with cleaning solutions and creating new buildup.
Step 2 – Remove and Wash All Removable Parts
Detach parts like the ice basket, scoop, and water reservoir lid if your model has one.
Wash each item separately using warm water and mild dish soap.
Use a soft sponge to clean gently without scratching plastic or coated surfaces.
Rinse thoroughly with clean water and leave everything to air dry on a towel.
If you’re unsure whether a part is dishwasher safe, double-check your user manual.
Step 3 – Clean the Interior of the Ice Maker
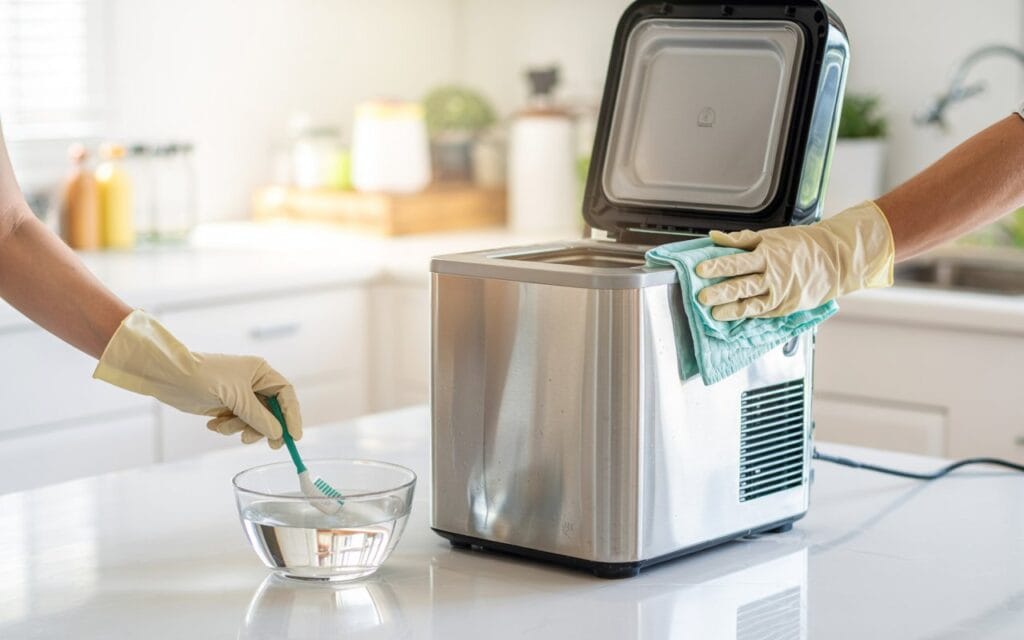
If you’re doing a routine clean or a full deep clean of your countertop ice maker, this step is where the magic happens.
Prepare a natural cleaning solution:
Mix equal parts white vinegar and warm water, or alternatively, a tablespoon of baking soda in a cup of warm water.
Dip a soft cloth or sponge into the solution and carefully wipe the interior surfaces.
Focus on the ice-making area, water spouts, and tight corners where buildup tends to hide.
Using a small toothbrush really helps reach hidden mineral deposits around tight corners and nozzles — places that are easy to miss if you’re only wiping with a cloth.
Important Note:
If your ice maker includes stainless steel parts, avoid using vinegar directly.
Stick to mild soap and water to protect the finish and prevent corrosion.
Step 4 – Rinse the Machine Thoroughly
After cleaning, it’s critical to remove any residue left behind.
Use a clean cloth soaked in fresh, warm water to wipe down all surfaces.
Repeat as needed until there’s no smell or trace of vinegar, baking soda, or soap.
Dry the interior carefully with a soft cloth and leave the ice maker open for at least 30 to 60 minutes to air out completely.
From my experience, leaving the lid open after cleaning speeds up the drying process and helps prevent any weird smells.
Step 5 – Wipe the Exterior and Reassemble
Clean the exterior panels and buttons with a lightly dampened cloth.
Avoid using any abrasive cleaners or harsh chemicals on the outside surfaces.
Once all parts are fully dry, reassemble the basket and other removable components.
Make sure everything locks into place securely before moving to the next step.
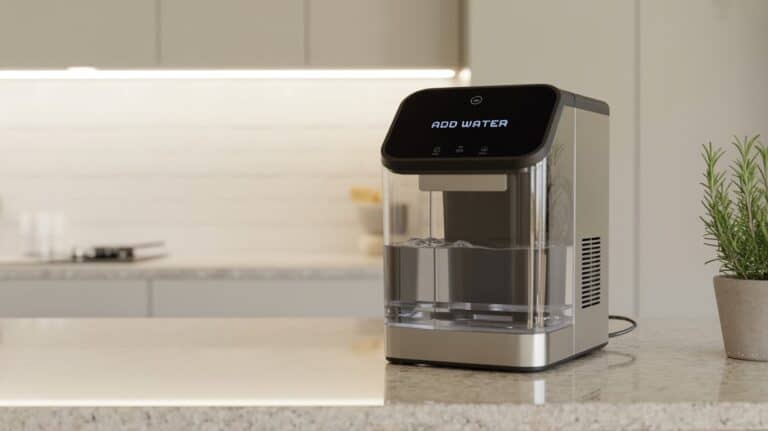
If your machine suddenly starts flashing ‘Add Water’, don’t panic — this is a common issue. Check this troubleshooting guide to fix it quickly.
Step 6 – Run a Cleaning Cycle (If Available)
If your machine includes a self-cleaning function, take advantage of it.
Fill the water reservoir with a diluted vinegar solution or a manufacturer-approved cleaner.
Run the cleaning cycle according to your manual’s instructions.
Once complete, run a second cycle with clean water to fully flush out any leftover cleaning solution.
This extra step ensures your ice will taste fresh and stay safe.
Once your ice maker is clean and ready, knowing how to use it properly can make a big difference in keeping it in great condition.
Check out our full beginner’s guide on how to use an ice maker to get started the right way.
Key Tips for a Cleaner and Safer Ice Maker
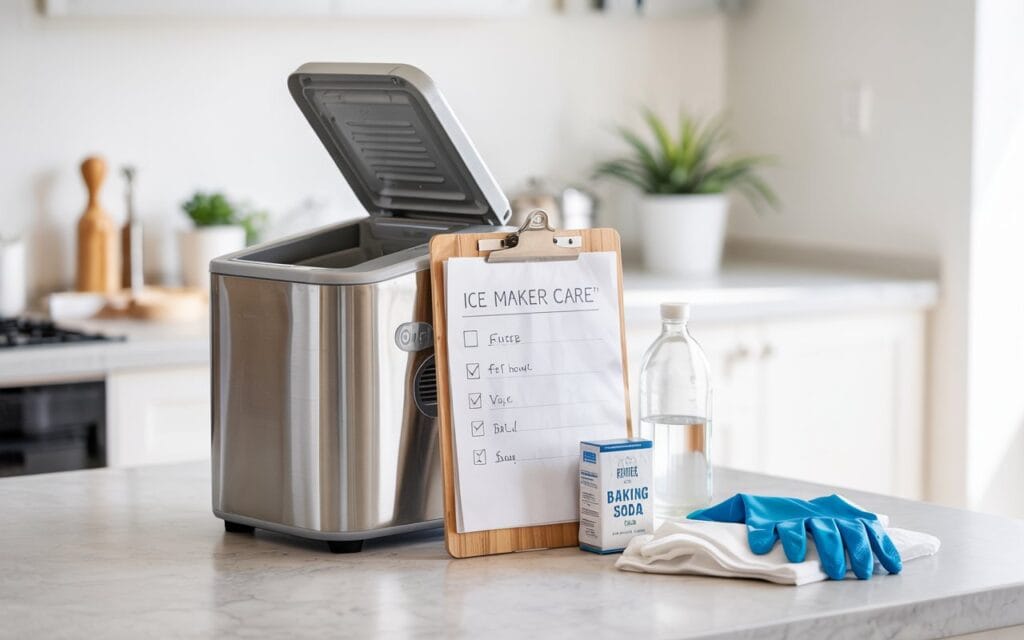
Keeping your ice maker in top shape isn’t just about cleaning it once — it’s about maintaining good habits over time.
Here are a few tips to make sure your ice maker stays fresh, safe, and working at its best:
- Clean your ice maker once a month or more often if you use it heavily.
Regular cleaning prevents buildup before it becomes a real problem. - Replace the water filter as recommended by your manufacturer.
A clogged or dirty filter can affect both the taste of your ice and the performance of your machine. - Never use undiluted chlorine bleach directly inside your ice maker.
Harsh chemicals can damage internal parts and leave dangerous residues. - Be extra careful when cleaning stainless steel parts.
Avoid vinegar and abrasive cleaners — stick to mild soapy water to protect the finish and prevent corrosion.
Conclusion: Keep Your Ice Maker Fresh and Safe
Cleaning your ice maker might seem like a small task, but it makes a big difference.
By following a simple routine, you can keep your machine running efficiently, improve the taste of your ice, and avoid unwanted odors or health risks.
It doesn’t have to be complicated — just a few careful steps once a month can keep your ice maker fresh and your drinks tasting their best.
If you haven’t cleaned your ice maker in a while, there’s no better time to start.
Give your machine a quick refresh today — your future self (and your taste buds) will thank you!
FAQs About Cleaning Ice Makers
What is the best way to clean the inside of an ice maker?
The best way is to use a solution of equal parts white vinegar and warm water.
Gently scrub the interior surfaces with a soft cloth or sponge, reaching into all corners and crevices.
Make sure to rinse thoroughly with clean water and allow the machine to dry completely before using it again.
Can you run vinegar through an ice maker?
However, always check your manufacturer’s recommendations first, especially if your machine has stainless steel parts or a self-cleaning function.
How do you get mold out of a countertop ice maker?
To remove mold, unplug the machine and empty all ice and water.
Clean all removable parts with warm, soapy water, and scrub the interior with a mixture of baking soda and water or diluted vinegar.
Dry everything thoroughly before reassembling to prevent mold from returning.


