How to Use an Ice Maker the Right Way (Step-by-Step Guide for Beginners)
Just got a new ice maker, but not sure what to do with it? You’re not alone.
Whether it’s your first time using one or you just lost the manual (we’ve all been there), getting started can feel a bit confusing.
The good news? It’s way easier than it looks.
With just a few simple steps, you’ll be making fresh, clean ice in no time—without the guesswork or stress.
In this guide, I’ll walk you through exactly how to use your ice maker the right way—from unboxing to your first batch of ice.
So let’s get started and turn that quiet machine into an ice-making beast! 🧊
What Is an Ice Maker and How Does It Work?
An ice maker is a small appliance that produces ice cubes automatically—no trays, no freezing overnight. Most models just need water and electricity, and they’ll take care of the rest.
Inside the machine, water is pumped into small molds. Then, a cooling system freezes it into ice. Once frozen, the cubes drop into a bin, ready to be scooped or used.
Want a deeper look at the process behind the machine? Check out this breakdown of how ice makers actually work.
There are different types of ice makers—some sit on your countertop, others install under the counter, and some are even portable for camping or travel.
But no matter the type, the basic process is almost always the same.
Why You Need to Learn How to Use It Properly
A lot of people assume that using an ice maker is as simple as plugging it in and walking away. While that’s mostly true, skipping key steps or using it the wrong way can lead to a bunch of avoidable problems.
When you know how to use your machine properly, you’ll save time, get better results, and avoid common issues that frustrate new users. It also helps extend the life of your machine and keeps your ice clean and safe.
Here are a few reasons why learning the right method really matters:
- Prevents machine damage from misuse
- Improves ice taste and clarity
- Avoids overflow, leaks, or water waste
- Saves electricity and reduces standby time
- Helps your machine last longer with less maintenance
So before we dive into the steps, let’s make sure you’re doing it the right way from the very beginning.
Step-by-Step Instructions to Use an Ice Maker
Using an ice maker for the first time might seem tricky, but it’s actually a breeze once you know the steps. Whether your model is small and portable or a bit more advanced, the basic process is always the same: plug it in, add water, and let it do the magic.
If you’re looking for ice maker instructions, this guide covers everything you need.
In this section, I’ll walk you through everything you need to do—from setting it up to collecting your first batch of ice.
Step 1 – Unbox and Find the Right Spot:
Before you plug anything in, take a moment to unbox your ice maker and check that everything looks okay. Make sure there’s no visible damage or missing parts, and remove any protective packaging.
Next, choose where you want to place the machine. It should be a flat, stable surface—ideally somewhere close to a power outlet, and make sure there’s a few inches of space around it for ventilation.
Getting the placement right helps your machine cool properly and avoids overheating later on.
⚠️ Note:
Avoid placing your ice maker near heat sources—doing so can make it work harder and produce less ice.
Step 2 – Clean Before First Use:

Even though your ice maker is brand new, it’s always a good idea to give it a quick clean before using it for the first time. Factory residue, dust, or packaging particles can build up inside, and you don’t want that in your ice.
Not sure how to clean it properly? Here’s my full guide to cleaning an ice maker without damaging it.
Start by unplugging the machine if it’s already connected. Then, use a soft cloth with warm water to wipe down the water reservoir, ice basket, and any surfaces inside the unit. Some models also include a self-cleaning mode—check your user manual just in case.
A quick rinse now will save you from funky-tasting ice later.
💡 Tip:
If your model has a cleaning function, run it once before adding water. It helps flush out anything left from manufacturing.
Step 3 – Fill the Water Reservoir:
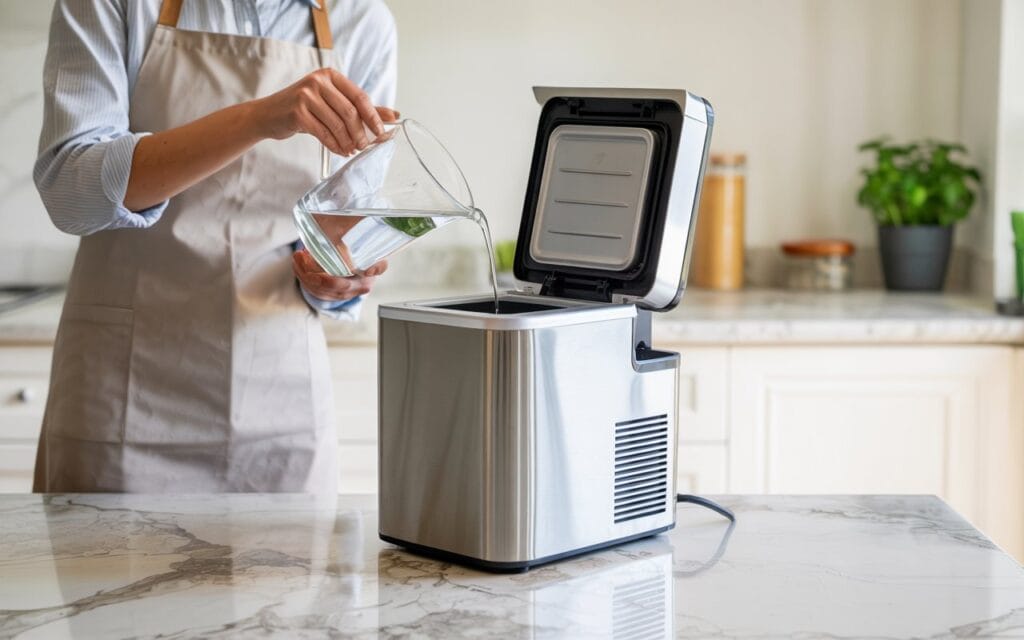
Once your machine is clean and dry, it’s time to add water. Most ice makers have a visible fill line inside the reservoir—don’t go past it. Overfilling can lead to leaks or cause the machine to malfunction.
Use clean, cold water. Filtered water is ideal if you want better-tasting and clearer ice, especially if your tap water has a lot of minerals. Pour the water slowly to avoid spilling into areas that shouldn’t get wet.
If your model doesn’t show a fill line, aim to fill about two-thirds of the tank.
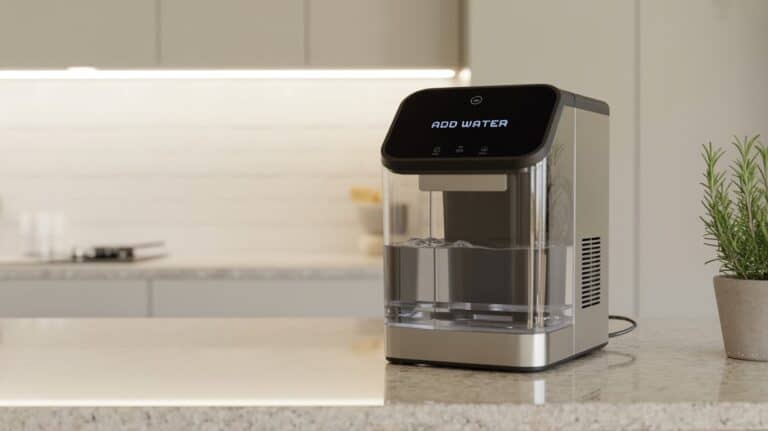
If your machine keeps showing “Add Water” even after filling the tank, here’s what it really means and how to fix it.
Step 4 – Plug In and Power On:
Now that the reservoir is filled, plug your ice maker into a grounded wall outlet. Most models have a simple power button—press it to turn the machine on. Some units will start running right away, while others may need a few setting adjustments.
If your machine includes size settings for the ice cubes, now’s the time to choose your preference—small, medium, or large. This step usually only affects shape and speed, not quality.
Make sure the lid is closed properly before you walk away. A loose lid can interfere with sensors or delay the ice-making cycle.
Step 5 – Wait for the First Batch:
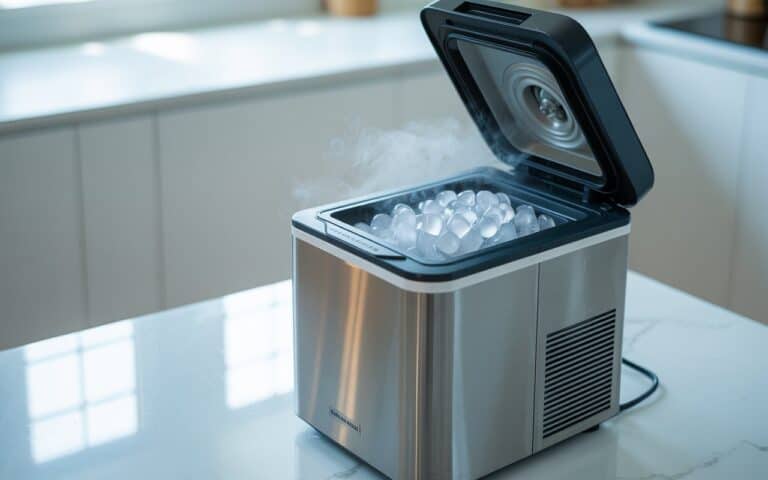
Once your machine is on, you won’t have to wait long. Most portable ice makers take between 6 to 15 minutes to produce the first batch.
That first batch might be a little smaller or softer than the rest—totally normal. Let the machine run a few cycles, and you’ll start seeing more solid, consistent ice cubes.
Step 6 – Collect and Store Your Ice:
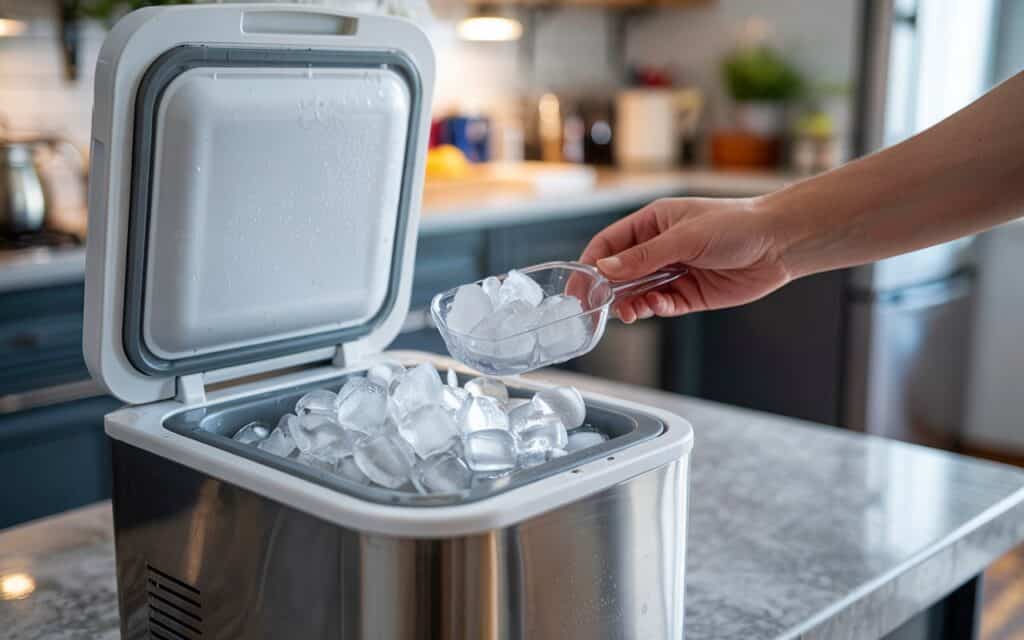
Once your machine finishes its first cycle, the ice will automatically drop into the basket. From here, you have two choices: use it right away, or store it for later.
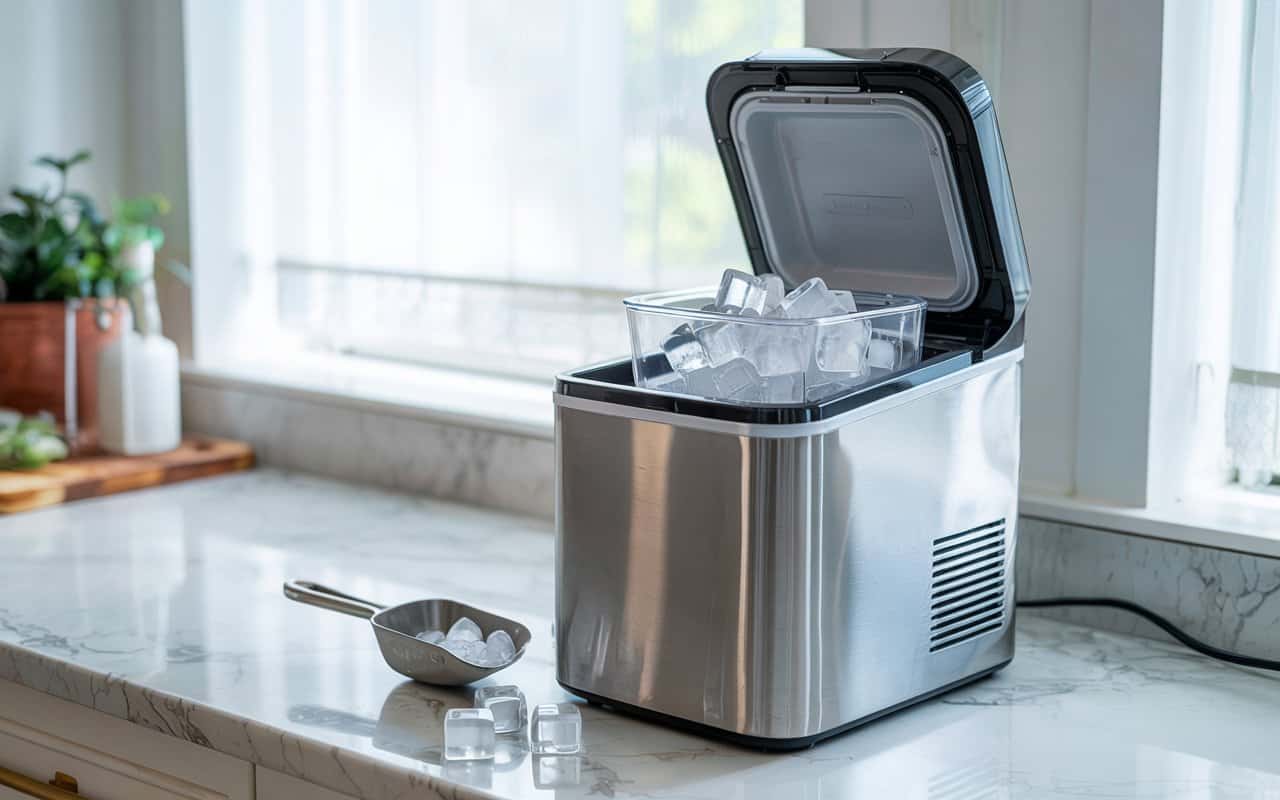
If your machine includes a scoop, use it to collect the cubes. They’ll usually be a bit wet or soft right after production—that’s normal.
Don’t leave the ice sitting in the basket for too long. Most portable ice makers don’t keep the ice frozen, so it will eventually melt and cycle back through the system.
If you’re not using the ice immediately, transfer it to your freezer for storage.
Key Tips for Successful Ice Making
Using an ice maker is easy, but getting consistently good ice takes just a bit of extra know-how. These quick tips will help you get the most out of your machine, avoid mistakes, and keep it running like new.
- Use filtered water whenever possible. It produces better-tasting ice and prevents mineral buildup.
- Don’t overfill the water reservoir—it won’t make ice faster, and might trigger error sensors.
- Avoid opening the lid too often while the machine is running. It messes with the internal temperature.
- Let the machine rest between long sessions. If you’re running it non-stop, give it a 30-minute break every few hours.
- Clean the machine regularly—even if the ice looks fine, residue can build up inside.
These small habits will make a big difference in the quality and reliability of your ice.
Keeping It Fresh – Cleaning and Maintenance
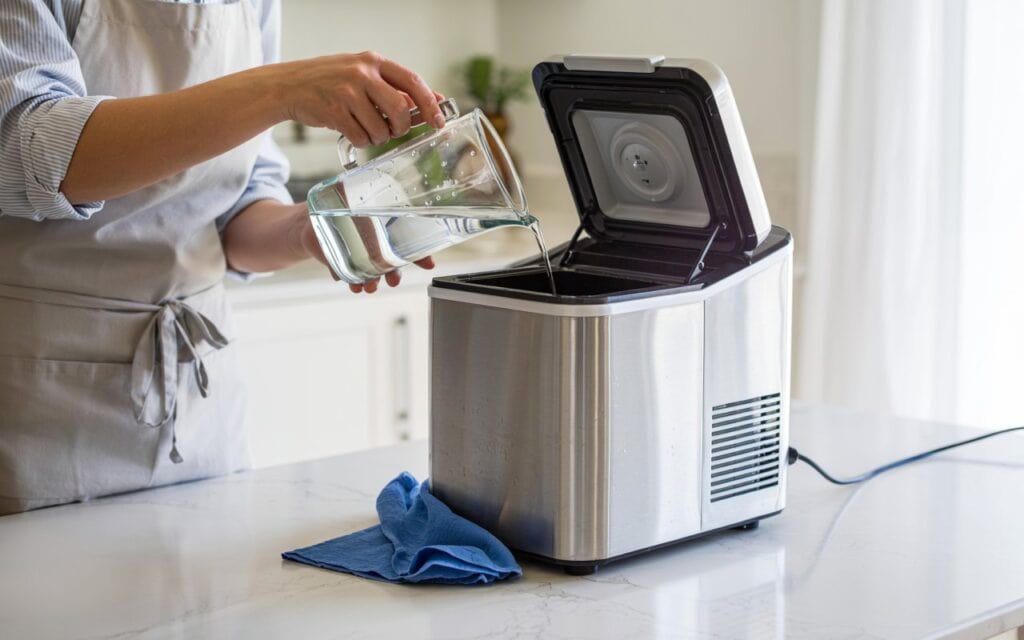
A clean machine means clean ice—plain and simple. Regular maintenance doesn’t take long, but it goes a long way in keeping your ice tasting fresh and your unit running smoothly.
After every few uses, unplug the machine and empty out any remaining water. Use a soft cloth and warm water to wipe down the inside surfaces. Don’t forget to clean the ice basket and scoop if you use them regularly.
If your machine has a self-cleaning function, run it once a week. You can also use a mix of water and vinegar (1:1 ratio) for a deeper clean—just make sure to rinse thoroughly afterward.
Keep the outside dust-free too. It may not touch the ice, but dust buildup around the vents can affect performance over time.
Wrapping Up and My Experience With Ice Makers
Getting the hang of your ice maker isn’t as complicated as it might seem at first. Once you go through the process a couple of times, it becomes second nature—fill the tank, hit the button, and enjoy the ice.
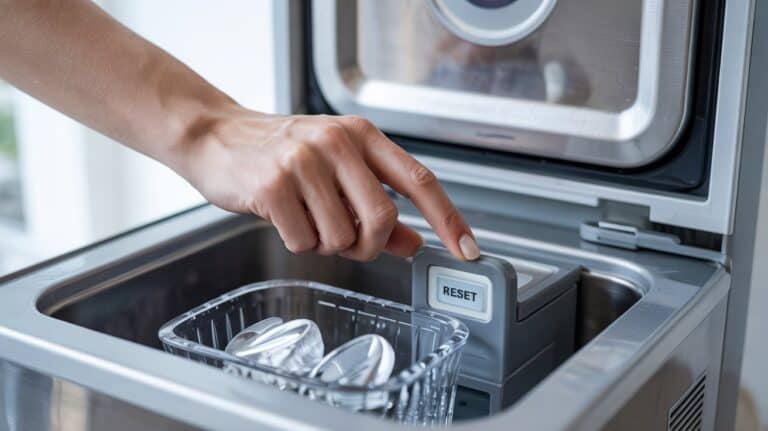
Learning how to work an ice maker properly ensures better results and avoids mistakes.
From my own experience, the biggest thing to remember is this: how you set it up and maintain it makes all the difference. A clean, well-placed machine will give you better ice, last longer, and work without issues.
If you’re still getting used to yours, don’t worry. You’ll have your rhythm in no time—and trust me, there’s nothing better than having fresh ice ready whenever you need it.
Frequently Asked Questions (FAQs):
Q: How long does it take to make ice?
A: Most ice makers produce the first batch within 6 to 15 minutes. The first batch might be a bit smaller or softer—give it a few cycles for best performance.
Q: How do I fill an ice maker correctly?
A: Most machines have a visible fill line. Don’t overfill it—just pour clean water up to the mark, usually about two-thirds of the tank.
Q: What kind of water should I use in a portable ice maker?
A: Using filtered or bottled water in a portable ice maker is best. While tap water is usually fine, using clean, low-mineral water helps reduce buildup, improve ice clarity, and extend the machine’s lifespan. Avoid distilled water unless the manufacturer recommends it.


