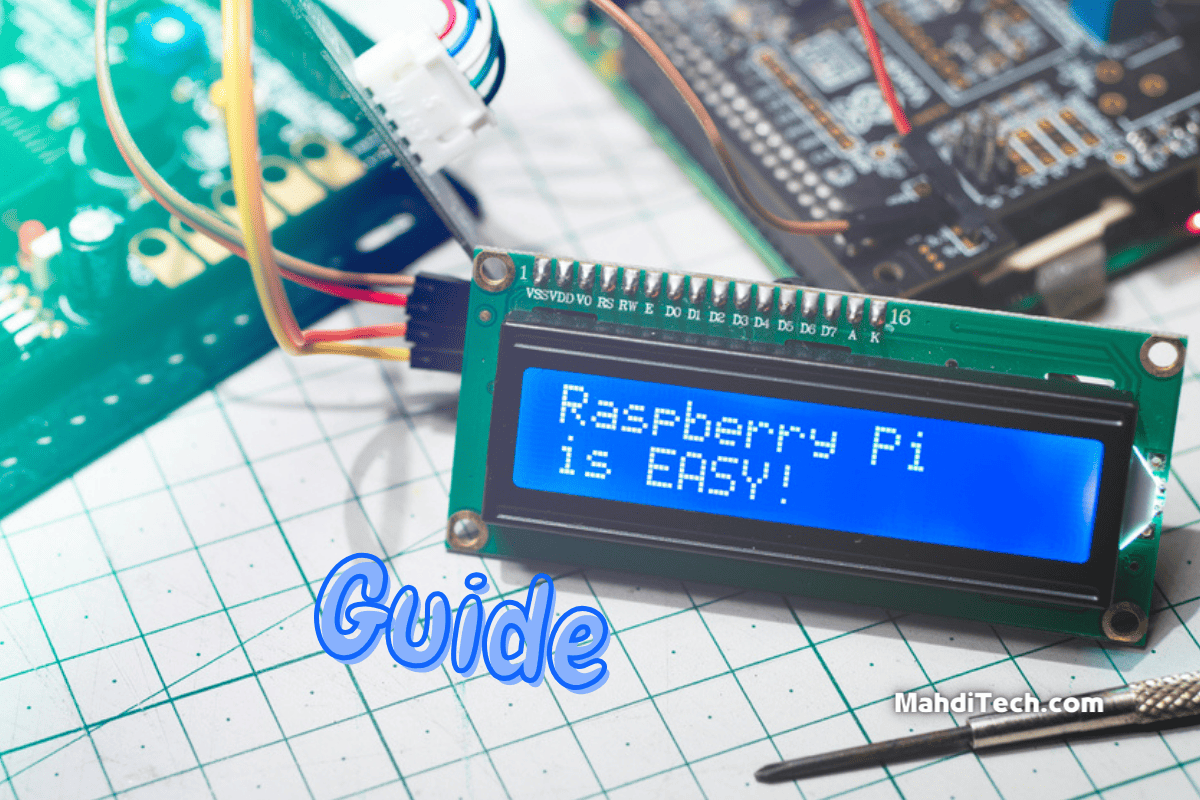
Do You Know What’s Going On Inside Your PC?
“Ever wondered what’s happening inside your PC while you game, work, or stream? What if you could know it all with a Raspberry Pi system monitor for PC?”
Hi there! You’re here because you want more than surface-level insights into your computer’s performance. Stick with me, and I’ll guide you through setting up your own Raspberry Pi system monitor for your PC.
Why should you care? This little device will offer real-time, in-depth data about your computer’s workings, CPU usage, RAM status, and more. It’s not just a cool project; it’s your PC’s new best friend for optimum performance.
Ready to level up your tech game? Let’s dive in.
Why Opt for a Raspberry Pi System Monitor for PC?
Curious about PC health but tight on budget? Let’s explore why monitoring your PC is crucial and how a Raspberry Pi makes it simple and affordable.
The Importance of PC Monitoring
Monitoring the health of your computer’s operating system is as critical as keeping tabs on your well-being.
It allows you to spot issues early on before they become serious problems. For instance, tracking your CPU temp can be particularly beneficial for Gaming Computers, where the stakes for performance and longevity are high.
With detailed instructions available for setting up monitoring tools, you can have peace of mind knowing that your PC is running efficiently.
Ignoring these parameters could result in suboptimal performance or system failure.
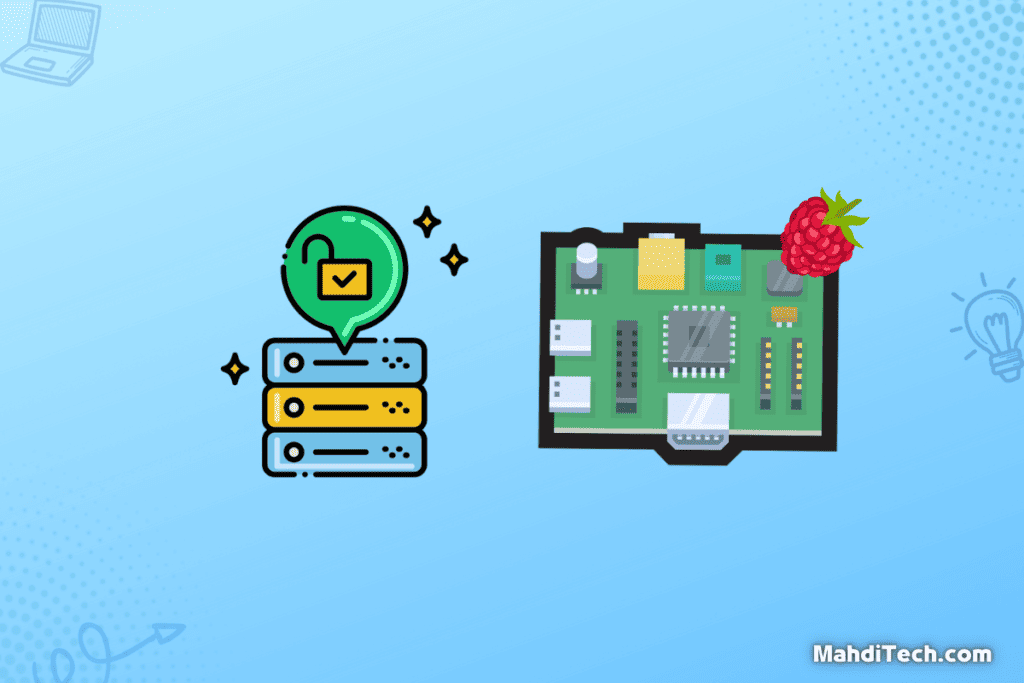
Why Raspberry Pi is an Ideal Choice
When it comes to setting up a status monitor for your computer, a Raspberry Pi device is hard to beat. Not only is it cost-effective, but it’s also incredibly versatile.
You can easily connect a screen to the Raspberry Pi and customize it to display a wide range of monitoring metrics.
The device’s compact size makes it easy to integrate into your existing setup, and its robust community support means you’ll find countless tutorials and software options to get your status monitor up and running.
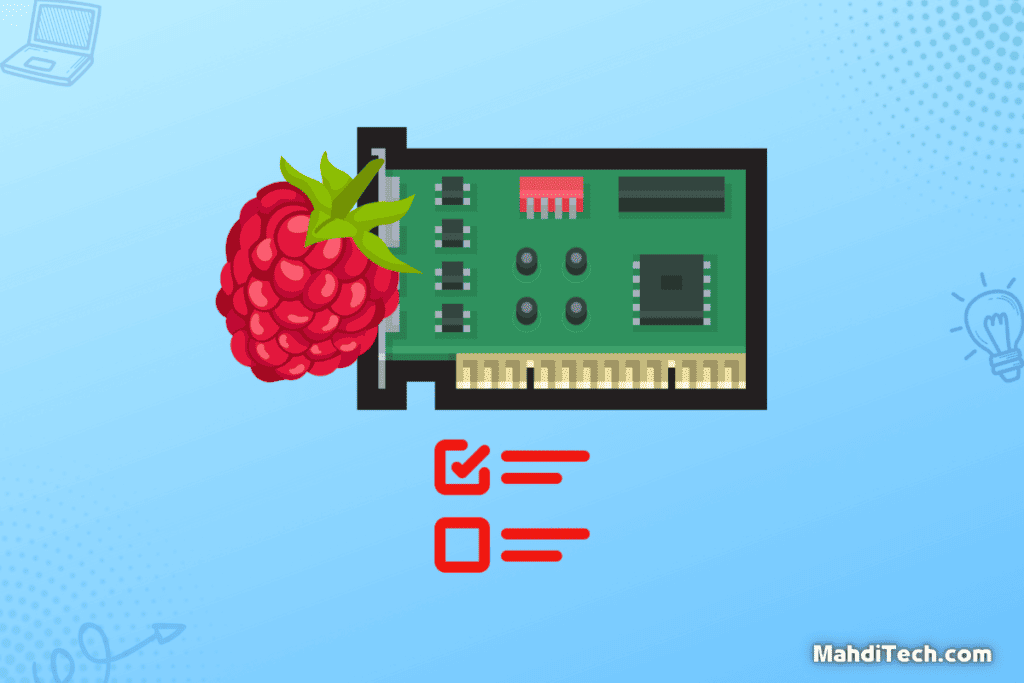
Required Components
Hardware Checklist
Before we begin setting up your Raspberry Pi system monitor, ensuring you have all the required hardware components is crucial. Here’s a handy checklist:
- Raspberry Pi Device: The brain of your system monitor.
- Power Supply: To keep your Raspberry Pi running smoothly.
- SD Card: For installing the Raspberry Pi OS.
- Jumper Wires: Necessary for connecting any additional sensors or components.
- Optional Screen: A dedicated display for real-time monitoring.
- Network Connection: Ethernet or Wi-Fi for data transfer.
Ensure you’ve checked all these items before we move on to the software setup.
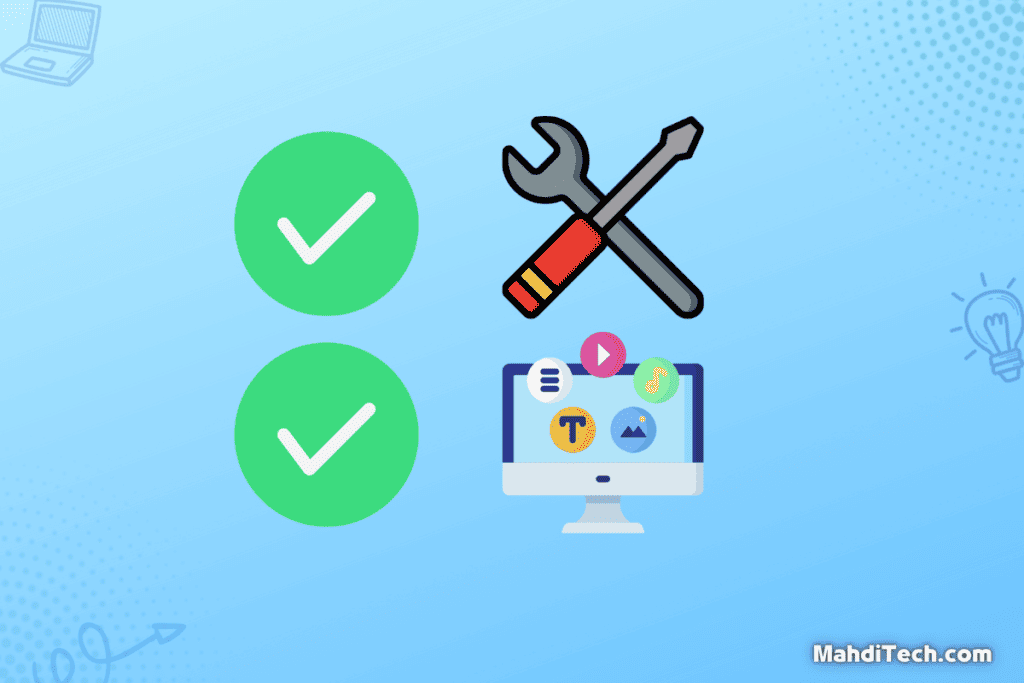
Software Requirements
Once you’ve sorted your hardware, the next step is to focus on the software. Here’s what you’ll need:
- Raspberry Pi OS: This operating system will run on your Raspberry Pi device. It’s specifically designed for the hardware and is crucial for the functionality of your status monitor.
- Raspberry Pi Imager Software: This tool will help install the Pi Operating System onto your SD card.
- Server Software: Depending on your specific needs and what you’re monitoring, you may require server software installed on your PC to communicate with the Raspberry Pi.
Getting the right software is key to making your Raspberry Pi system monitor for PC run smoothly. So, make sure you download and install these before moving on.
Setting Up Your Raspberry Pi
Now that we’ve covered the why and the what let’s dive into the how.
Setting up the device is the first big step in our Raspberry Pi journey. We’ll walk you through installing the Raspberry Pi OS and guide you on the initial configuration and network setup. So let’s get started!
Installing Raspberry Pi OS
The cornerstone of any Raspberry Pi setup is the operating system. For our project, we recommend using the official Raspberry Pi OS.
To install the Pi Operating System, head to the official website (link here) and download the latest version suitable for your Raspberry Pi model.
Then, follow the detailed installation instructions provided. This will ensure that your Raspberry Pi runs on a stable, well-supported OS, making the rest of the setup process smooth sailing.
Initial Configuration and Network Setup
Once Raspberry Pi OS is installed, initial configuration and network setup are the next steps.
Enabling SSH is crucial if you plan to access your Raspberry Pi remotely.
To find your Raspberry Pi’s IP address, you can look into your router’s connected devices list where the IP address should be shown. This will make it easier to connect to your Pi over your network.
With these steps, you’ve laid the groundwork for a successful project, ensuring you can access your Raspberry Pi effortlessly.
Software Installation for System Monitoring

Installing Server Software on Your PC
This section will walk you through the step-by-step process of downloading and installing the server software on your PC.
This is the backbone of your system monitoring setup, allowing your Raspberry Pi to communicate effectively with your computer.
- Download the Server Software: Go to the official website of the server application you are using and download the appropriate version for your PC.
- Run the Installer: Double-click the downloaded file to initiate the installation process.
- Installation Wizard: Follow the installation wizard’s prompts. These steps usually involve agreeing to terms and conditions and selecting the installation folder.
- Adjust Firewall Settings: Open your firewall settings to ensure the application can access your Pi’s network port. Add an exception if necessary.
- Finish Installation: Complete the installation process by following the remaining prompts.
- Test the Connection: Ensure the server application is running and ready to connect to the Raspberry Pi.
Installing Client Software on Raspberry Pi
You’ll find detailed instructions on installing the client software on your Raspberry Pi here.
This software allows your Pi to send vital monitoring data to the server software installed on your PC. Let’s get started!
- Access Raspberry Pi: Connect to your Raspberry Pi, where you have Raspberry Pi OS installed.
- Navigate to Software Source: Open a browser on your Raspberry Pi or SSH it and go to the website where the client software can be downloaded.
- Download Client Software: Choose the Raspberry Pi-compatible version from the drop-down menu and download it.
- Initiate Installation: Double-click the downloaded file or run the installation command in the terminal.
- Follow Prompts: Similar to the server software, follow the installation prompts that appear. These could include accepting terms and conditions and selecting the destination folder.
- Finish Installation: Complete the installation by clicking ‘Finish’ or executing the final command in the terminal.
- Check Connection: Verify that the client software is installed and can communicate with the server software on your PC.
With these steps completed, you should now have the server software running on your PC and the client software operational on your Raspberry Pi, enabling comprehensive system monitoring.
Customizing The Raspberry Pi System Monitor Dashboard
So, you’ve set up the software, and everything’s running smoothly.
What’s next? Customization! This section will dive into the metrics you can monitor and how to personalize your dashboard for a better user experience. Let’s make this tool truly yours!
Metrics You Can Monitor
The beauty of a Raspberry Pi system monitor is its versatility in tracking various metrics that matter to your PC’s performance.
From CPU usage to RAM usage, this is a resource monitor that provides you with insightful default information.
Monitoring these metrics ensures your computer runs optimally and can also clue you when it’s time for an upgrade.
Dashboard Customization
Customizing the dashboard layout can dramatically improve your interaction with your system monitor setup. Here’s how you can make it your own:
- Choose a Layout: Many system monitors offer different monitor setup options. Pick one that suits your style and needs.
- Add Widgets: Incorporate new widgets that can provide quick insights into different system metrics.
- Visual Customization: Most platforms offer a ‘use custom’ option where you can apply your color schemes or visual elements.
- Save and Refresh: After making your changes, save your new setup. Refresh the dashboard to see if the changes take effect.
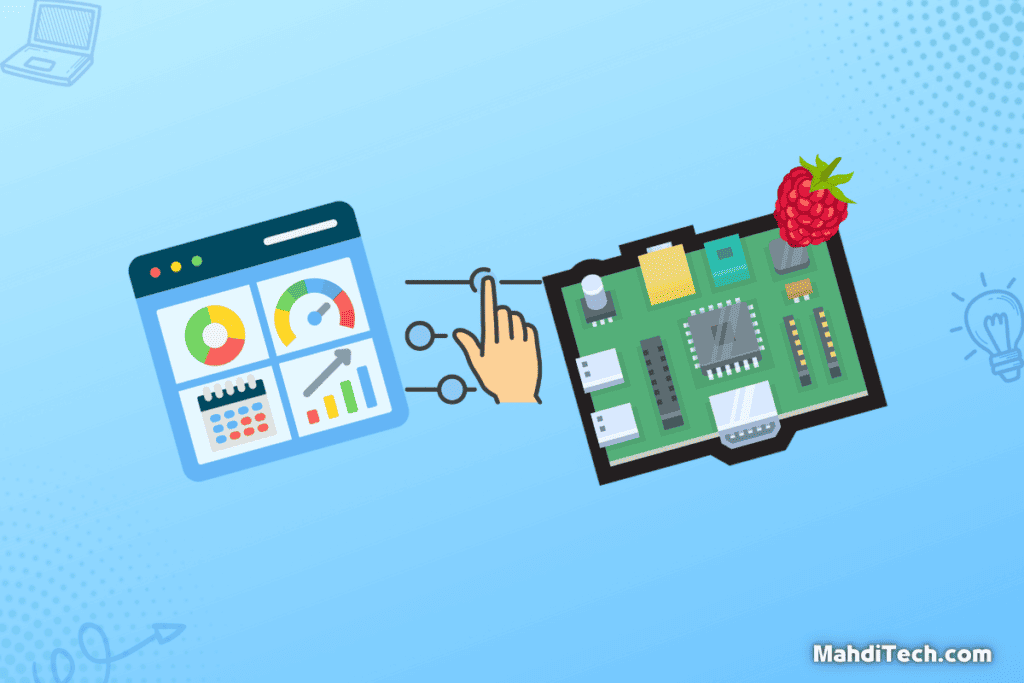
Data Accessibility and Viewing Options
Before we delve into the details, let’s set the stage. The true power of a Raspberry Pi system monitor for a PC lies not just in gathering data but in how easily you can access and interact with that information.
In this section, we’ll explore how to use web server features to your advantage and set up notifications for real-time alerts.
Using Web Server Features
The beauty of having a Raspberry Pi system monitor is that you can easily access your monitoring data through a web server.
You don’t have to be physically present at your PC to check its performance; you can log into the server to see real-time metrics.
Configuring the web server correctly lets you view this data from anywhere with an internet connection, making it incredibly convenient and accessible.
Notifications and Alerts
Another excellent feature of a Raspberry Pi system monitor is setting up notifications and alerts based on specific thresholds.
For instance, you can receive immediate alerts if your CPU temperature rises above a certain point or your RAM usage spikes.
This is invaluable for preemptively addressing issues before they become serious problems. By setting up these alerts, you can maintain your PC’s performance and longevity while being in the loop of its real-time status.
Conclusion
In today’s digital world, a Raspberry Pi system monitor is an invaluable tech gift for real-time insights into your PC’s performance.
This compact device handles everything from CPU and RAM monitoring to custom alerts.
It’s an affordable, flexible solution that appeals to casual users and tech enthusiasts.
With its customizable dashboard, you’re always in control of what you monitor, making PC management effortless.
It’s not just a tool; it’s your guiding light in system health.