Overclocking is a term that might make many beginners feel like they’re treading on unfamiliar territory. In the realm of computing, it’s akin to supercharging your car for that extra bit of speed.
But as exhilarating as CPU overclocking can be, it’s essential to grasp its significance and potential hazards.
Have you ever felt your computer roaring like a lion, only to realize it’s overclocked? Not to worry; understanding how to turn off overclocking is crucial, especially if you’re keen on reverting to those safe default settings. Let’s dive deep and tame that digital beast causing a stir inside your machine.
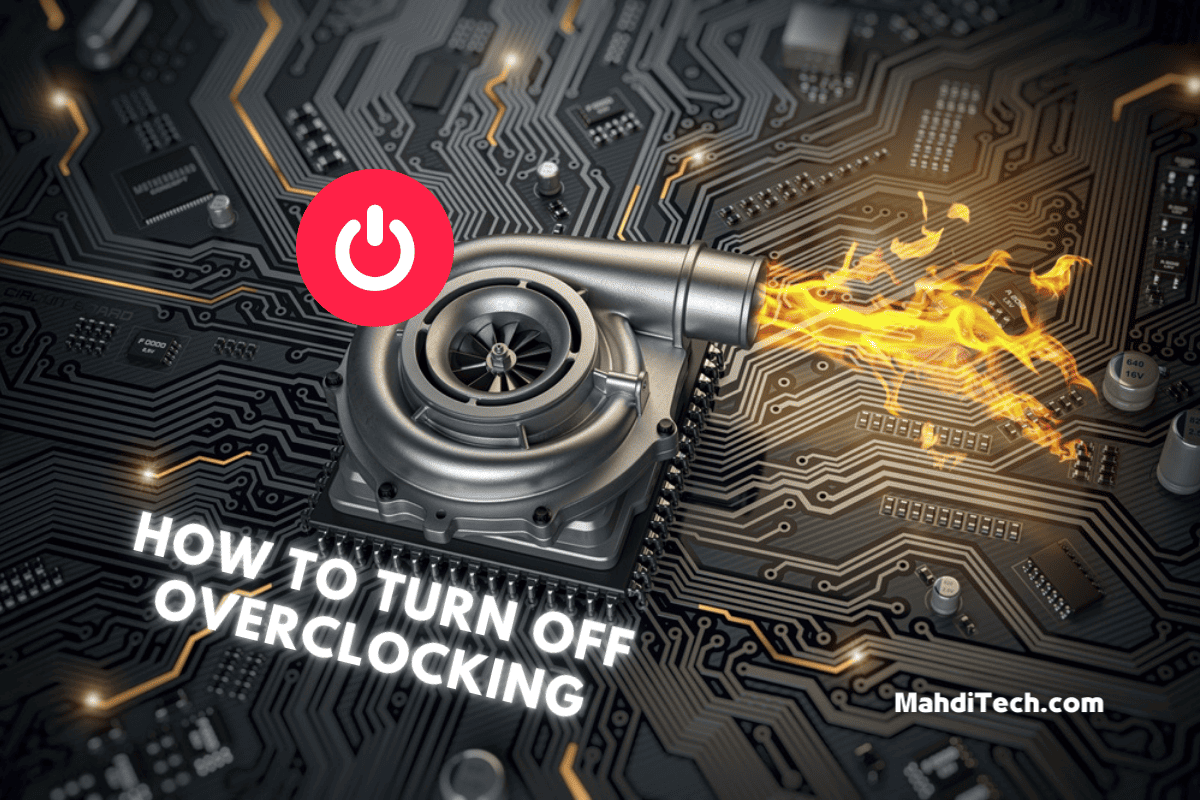
How to Turn Off Overclocking
Navigating the maze of computer settings can sometimes be overwhelming, especially when managing your device’s clock speed. But fear not!
If you want to disable overclocking and bring your system back to its standard rhythm, you’re in the right place. Whether you prefer the direct option to adjust settings through the familiar interface of Windows or dive a bit deeper into the BIOS/UEFI realm, I’ve got you covered. Let’s explore these methods in detail.
Method 1: Through Windows
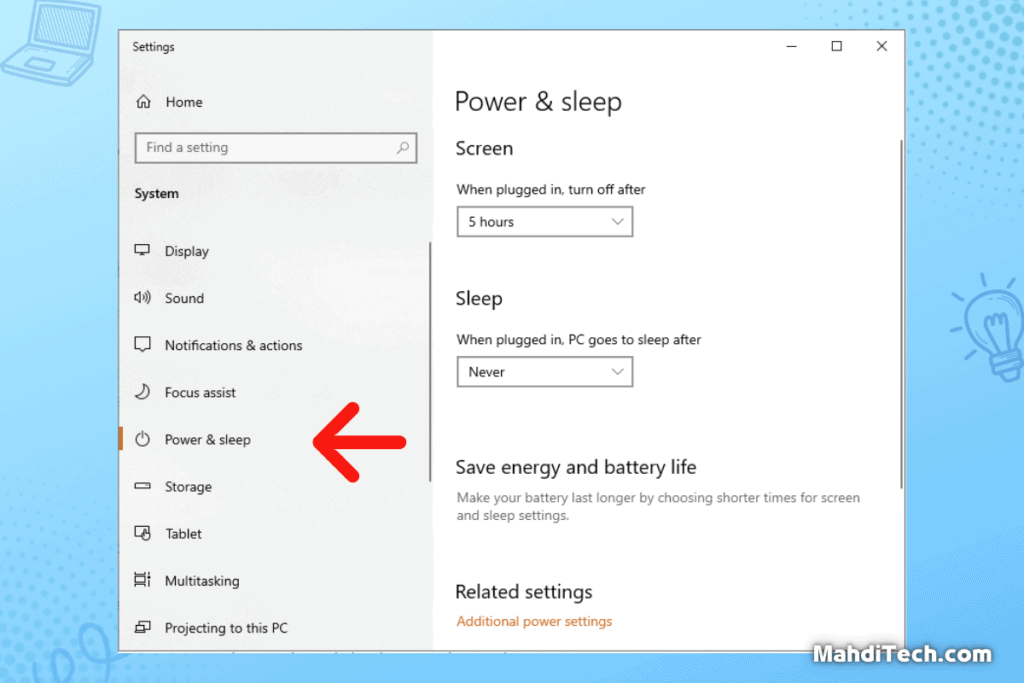
Fear not, fellow tech enthusiast. Reverting the memory clock on your computer back to its default clock speed through Windows is more straightforward than most think.
Navigating this process is akin to a gentle walk in the park rather than a trek up a mountain. Let’s break it down step by step:
- Access Power Options: Click on the start menu, type in “Power Options,” and select the corresponding result.
- Choose a Power Plan: Opt for the ‘Balanced’ plan inside. This ensures your PC runs at normal settings, neither underpowered nor overclocked.
- Adjust Advanced Settings: For a deeper dive, click ‘Change advanced power settings.’ Here, you can manually ensure all settings resonate with the standard configurations.
- Apply and Exit: After ensuring everything is set right, click ‘Apply,’ then ‘OK.’
- Restart for Good Measure: It’s always a wise practice to restart your PC after such adjustments, ensuring all changes are effectively in place.
There you have it—a simple method to ensure your computer hums along at its intended rhythm without any overclocked fervor.
Method 2: Via BIOS/UEFI
I still vividly recall the unease I felt the first time I entered the BIOS. Those cryptic menus and advanced options all seemed like navigating uncharted territory.
But with a guide in hand (much like the one you’re reading now), even the most daunting digital landscapes can feel like familiar ground. Let’s ensure you’re well-equipped to tread these waters:
- Accessing the BIOS/UEFI: Press the designated key (often F2, F10, or Del) to enter the bios setup utility as you boot up your PC.
- The specific key varies depending on your computer’s manufacturer, so keep a sharp eye out during the startup phase.
- Navigating to Overclocking Options: Within the bios menu, locate the section related to CPU settings or overclocking. This might be labeled differently based on your motherboard, with terms like “Advanced CPU Core Features” or “CPU Tweaker.”
- Adjusting the CPU Core Voltage: Before you proceed, identify the option related to CPU core voltage. Reducing this to its standard value can often reduce the clock speed automatically.
- Setting to Default: Scan the menu for an option that allows you to revert to default clock speeds. Selecting this will ensure your PC runs at its original settings, stripping away any overclocked modifications.
- Disable CPU Overclocking: In the BIOS settings, seek out any options that specifically mention ‘Overclock’ and ensure you choose to disable CPU Overclocking.
- Exit and Restart: After making all the necessary tweaks, save your changes and exit. Remember to restart your PC to apply all modifications.
Diving into the BIOS might seem intimidating, but with these steps by your side, you’ve got a clear path to ensure your PC operates smoothly and safely.
Overclocking 101: The Basics
Before we delve deeper into the intricacies of overclocking, let’s set the foundation. Overclocking, for many, represents a world where we tweak system settings, pushing the boundaries of what our hardware can achieve.
Whether you’re looking to boost your CPU speed or dip your toes into GPU overclocking, understanding the basics is essential.
Especially with the rise of Mid-range Gaming PCs, the allure of squeezing out more performance has become more prominent than ever. And with all the settings and myriad voltage settings and overclocking features available, it’s crucial to be well-informed.
So, what exactly is this thing called overclocking? Let’s break it down.
What is Overclocking?
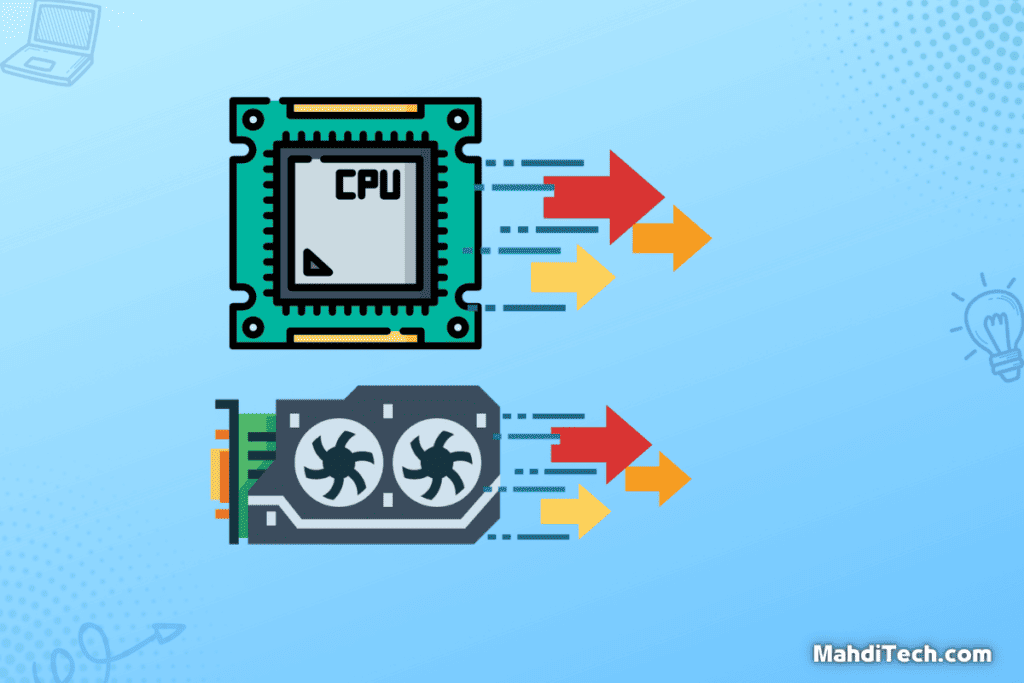
If overclocking were a sport, think of it as trying to squeeze that extra sprint out of your legs, but in the realm of computer science, it’s all about nudging our PCs to sprint just a bit faster.
Overclocking is the art of pushing your hardware components beyond their factory settings to achieve a higher clock speed. This doesn’t just give the individual cores in your system more power and enhanced performance and demands an effective cooling system to counter the additional heat generated.
It’s akin to giving your computer a little caffeine boost, urging it to work harder and faster. But, as with all boosts, it’s essential to ensure balance to avoid any potential hiccups down the road.
The Consequences of Overclocking: Risks You’re Taking
Unlocking the full potential of your PC through the overclocking feature is enticing, but it’s not without its pitfalls.
First and foremost, dabbling in overclocking can void your warranty, putting the pc worth at risk. As you tinker with the FSB frequency settings, your machine produces a higher heat output, leading to higher temperatures that can compromise your system’s stability.
This heightened temperature is a gateway to overheating, one of the most cited reasons that makes overclocking dangerous. Over time, prolonged exposure to elevated temperatures can cause irreversible damage to your hardware components.
And there’s more – your power consumption sees a significant spike, pressing additional strain on both your power bills and the environment.
Suppose you’re utilizing tools like CPU Z or GPU Z to monitor these changes. In that case, it’s vital to be aware of these risks and consider disabling overclocking and returning to the safe confines of default settings if things get dicey.
The Sound of Overclocking

It’s not just the internal components feeling the heat when you boost your system through overclocking. As you push your hardware to its limits, the fans work overtime to combat the increased temperatures, spinning at higher rates than usual.
This uptick in fan speed is often the culprit behind the heightened noise levels you might notice. It’s like a car engine working harder and roaring louder as you step on the gas.
If you’ve been wondering why your overclocked PC resembles a mini jet engine lately, this is why.
Detecting an Overclocked System
Dipping into the overclocking world is thrilling, but how do you ascertain if your system has been overclocked?
Recognizing an overclocked system can be pivotal, from understanding its performance metrics to assessing potential risks. Whether it’s the heart of your PC – the CPU, or the graphics powerhouse – the GPU, there are clear signals to identify an overclock.
Let’s dissect these indicators, starting with the CPU and then moving on to those telling GPU signals.
Checking the CPU
Venturing into the deep corners of your PC to ascertain if the CPU is overclocked might sound daunting, but I assure you, it’s simpler than you think. Let me take you through this journey, step by step:
Task Manager Insights: Begin by pressing Ctrl + Shift + Esc to bring up the Task Manager. Navigate to the ‘Performance’ tab. Here, you’ll find your CPU’s speed. If it’s higher than the manufacturer’s listed speed, there’s a chance it’s overclocked.
BIOS Indicators: Restart your PC, and during the bootup process backup sequence, press the designated key (often F2, F10, or Del) to enter your bios settings. Within the BIOS menu, look for your CPU settings or clock ratio. You’ve found your sign if these values are above the default value.
Third-Party Software: Sometimes, it’s easier to let specialized software do the job. Tools like CPU-Z can provide detailed insights. If they indicate speeds above the norm, you might want to consider how to disable overclocking or turn off overclocking to return your system to its baseline.
Remember, these methods aren’t about intrusion but understanding. Once you have this knowledge in hand, it’s all about making informed choices about your PC’s future.
GPU Signals
The GPU, or as I like to call it, the “visual maestro” of our PCs, can also be a subject of overclocking. Recognizing when it’s been pushed beyond its factory parameters is crucial. If you’ve ever wondered if your GPU is dancing to the overclocking tune, these steps will help you unravel the mystery:
Graphics Control Panel: Right-click on your desktop and open your graphics card control panel. This is the heart of your GPU’s settings. Navigate to the ‘Clock Speed‘ or similar settings. If the values there soar above the graphics card’s default specifications, you’ve got an overclocked GPU.
Third-Party Tools: Tools like GPU-Z can be invaluable. Not only do they display your GPU’s current speeds, but they also allow you to compare with default values. If you notice any discrepancies, it could indicate that your PC is overclocked.
GPU Comparison: If you’re still uncertain, take a moment to look up your specific GPU model online. Compare the listed specifications with what you’re seeing on your system. Any variations might hint towards GPU overclocking.
If you discover your GPU is overclocked and want to revert to safer grounds, there are ways to disable overclocking and stop overclocking to ensure performance and longevity.
Conclusion
Navigating the overclocking world is like standing at the edge of an enthralling tech frontier. The allure is undeniable. Pushing our machines to the edge, squeezing out every ounce of performance, makes us feel like we’re truly getting the most out of our hardware.
However, the siren call of overclocking comes with its own set of caveats. Just as you wouldn’t redline your car engine constantly, overclocking your CPU requires discernment and restraint.
While the overclocking feature can feel like a magic wand to amplify performance, the benefits must always be weighed against potential pitfalls. If ever in doubt or seeking stability, remember you always have the choice to turn off overclocking and return to the safety of the default settings.
It’s all about finding that perfect balance between the thirst for speed and ensuring our prized machines remain intact. In the grand scheme of things, isn’t the longevity and stability of our hardware worth more than a few extra ticks overclock up on the CPU ratio? I believe it is.
FAQs:
What exactly is overclocking, and why would someone do it?
Overclocking pushes a computer component, typically the CPU or GPU, beyond its factory settings to achieve a higher clock speed. It’s like giving your computer a shot of adrenaline, potentially boosting performance for demanding tasks like gaming or video editing. However, while it might sound tempting, overclocking requires caution. Boosting performance might come at the cost of stability, heat issues, or even hardware damage if overclocking increases are not done correctly.
Is it dangerous to overclock my PC?
Overclocking can pose risks when done without the proper knowledge or precautions. These include voiding the warranty, overheating, potential damage to components, and increased power consumption.
An overclocked PC might also produce more noise due to fans working harder. At the same time, some experienced users enjoy the benefits of overclocking.


