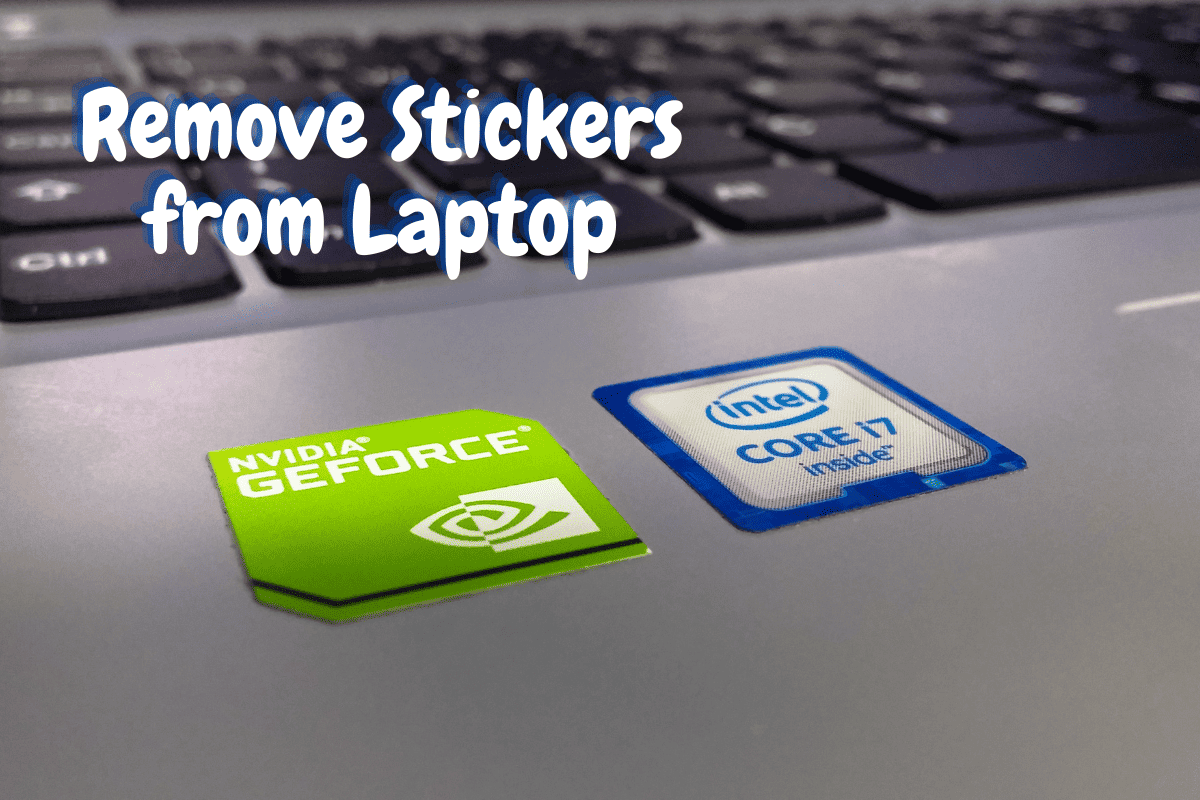
Personalizing your laptop with eye-catching stickers has become popular among users in this digital age.
Over time, however, these stickers may lose their charm or need to be replaced with new ones, leaving you with the tricky task of Remove Stickers from Laptop. If you find yourself in this situation, fear not!
This article is here to provide you with simple steps for effectively removing stickers while ensuring that your laptop remains unharmed. You will learn how to maintain a smooth surface, and we’ll also share some tips to tackle the pesky sticker residue and adhesive that can prove challenging to eliminate.
So, read on, and let’s get your laptop looking pristine again!
Understanding the purpose of removing stickers from your laptop
Removing stickers from your laptop is essential in maintaining your device’s clean and polished appearance.
Peeling a sticker from your laptop eliminates distractions and presents a more professional look, especially in a work or educational environment. Furthermore, it can prevent the accumulation of dirt, grime, and residue that gather around adhesive remnants.
Finding the most efficient and safe way to remove these stickers is crucial for preserving the integrity of your laptop surface and avoiding any potential damage. Ultimately, understanding the reasons for the removal process is vital to laptop maintenance and appearance.
Supplies and Materials Needed for Sticker Removal
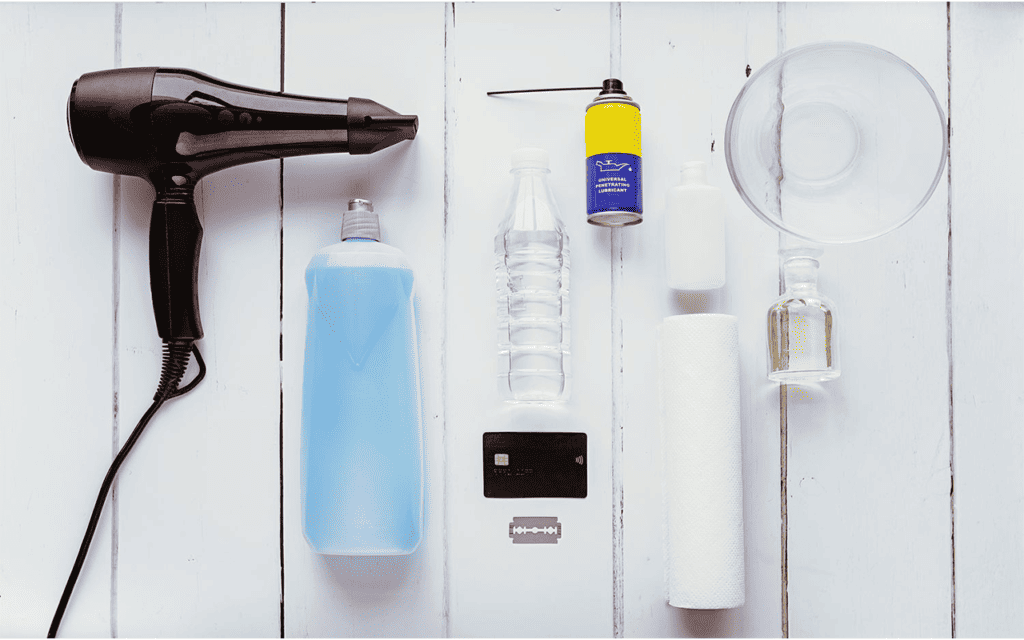
image credit: www.thespruce.com
Gather the necessary supplies and materials to remove a laptop sticker and ensure no residue remains effective. With these tools, you’ll be well-equipped to remove your laptop sticker seamlessly and efficiently.
1- General tools:
- Rubbing alcohol
- Cotton swabs
- Clean Cloth
2- Specialized tools:
- Heat gun
- Hairdryer
3- Optional cleaning supplies:
- Adhesive remover
- Wet wipes
Step-by-Step Instructions to Remove Stickers from Laptop
Are you tired of those old, worn-out stickers on your study laptop? This guide safely removes stickers from your laptop without damaging the surface.
With these step-by-step instructions, you’ll have a cleaner, more professional-looking device in no time.
1- Peel off the sticker by hand
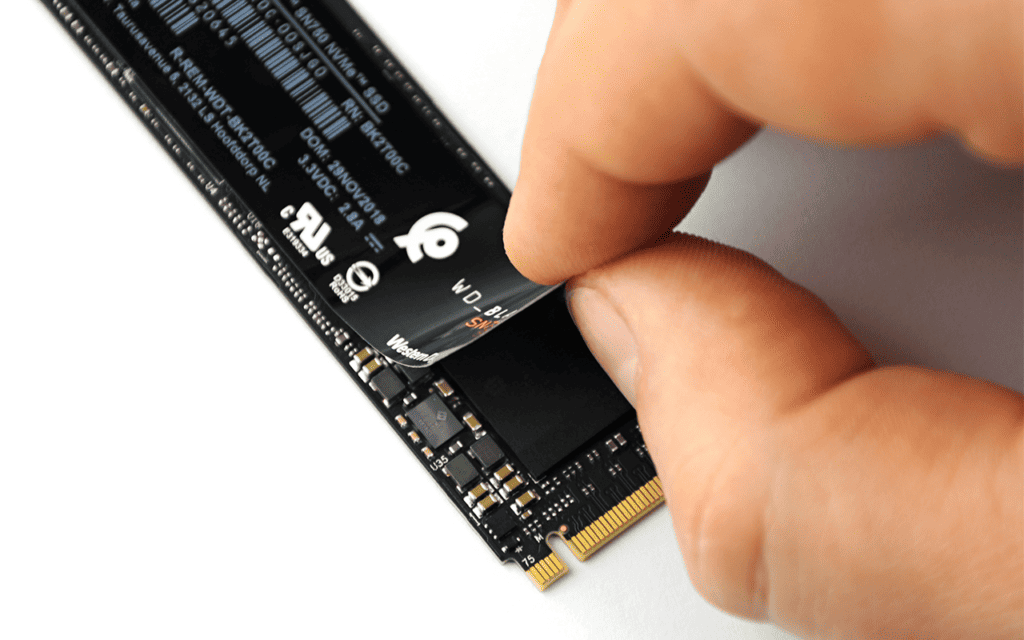
image credit: www.hwcooling.net
Begin by using your fingernail to gently lift one of the corners or edges of the sticker.
Once a corner is lifted, carefully lift and pull the entire sticker, ensuring it comes off smoothly while taking caution not to damage the laptop surface during the process.
Although this approach frequently results in sticky residue being left behind, the most important focus should be avoiding harm to the laptop’s exterior.
Tip
We do not recommend using your fingernail to scrape off any residual stickiness or abrasive.
2- Dampen the sticker using a cloth
One effective method to remove the sticker from your laptop involves using a microfiber cloth.
First, soak the cloth in warm, soapy water, ensuring it is well-saturated.
Then, press the wet cloth firmly against the sticker for a few minutes, ensuring complete contact with the sticker’s surface.
The warm, soapy water will help loosen the adhesive, making it easier to peel off the sticker.
After a few minutes, gently lift one corner of the sticker and slowly peel it away from the laptop.
The microfiber cloth can then remove any remaining adhesive residue, leaving a clean surface behind.
3- Apply heat using a hairdryer or heat gun
Removing stickers from your laptop can be daunting, but applying heat using a hairdryer or heat gun makes the process easier and causes minimal damage to the laptop.
Before proceeding, ensure you unplug your laptop to avoid any electrical accidents.
Start by applying heat to the sticker for 20-30 seconds, being cautious not to overheat the laptop, which could damage your laptop’s components.
Once the adhesive softens, carefully peel off the sticker. This method will keep your laptop surface intact while discarding the unwanted sticker.
4- Use rubbing alcohol
Taking off stickers from your laptop can seem like a difficult task, but rubbing alcohol can be an easy and efficient solvent to use.
To start, apply a small amount of rubbing alcohol to a cotton swab and gently rub it onto the sticker, ensuring the surface is adequately damp.
Allow it to sit for a few minutes, as this will help weaken the adhesive and make it easier to peel the sticker off.
Once this is done, use a flat-edged tool or your fingers to carefully scrape off the sticker residue, working slowly to avoid damaging your laptop’s surface.
Finally, use a clean rag to remove any remaining residue, leaving your laptop sticker-free and pristine.
5- Extra Ways
image credit: www.Amazon.com
Disclaimer: This article contains affiliate links where I may receive a small commission at no cost to you if you decide to purchase.
There are several different methods you can try to make the process easier.
One of the most effective ways to remove stubborn stickers is using an oil-based solution like WD-40.
Simply spray a small amount of WD-40 on the sticker’s edge and let it sit for a few minutes to soften the adhesive. Then gently peel off the sticker, taking care not to damage your laptop’s surface.
Another great option to dissolve stubborn adhesive residue is a mixture of baking soda and water. Mix equal parts of baking soda and water to create a paste and apply it directly onto the sticker area.
Allow the paste to sit for several minutes before gently rubbing it off with a cloth.
Lastly, you can use a Mr. Clean Magic Eraser to eliminate any remaining sticky residue.
Moisten the Magic Eraser with water and rub it gently on the affected area until all sticker traces are gone.
You’ll have a clean, sticker-free laptop in no time by trying a combination of these methods.
You can also utilize petroleum jelly in the same manner.
Tips for removing laptop sticker residue
When stickers leave behind an unsightly residue, it can be unpleasant.
However, with the right tools and proper direction, anyone can remove the rest of the sticker and restore the sleek look of their laptop.
The following tips will help you remove stickers from your device without causing any damage:
First, gently peel off as much of the sticker as possible with your fingernails or a plastic card. Be patient and work slowly to avoid scratching the surface.
Next, dampen a soft cloth with warm water and a few drops of mild dish soap.
Gently rub the cloth over the sticker residue in a circular motion, careful not to press it too hard.
If the residue is stubborn, you can use a cotton swab dipped in rubbing alcohol or adhesive remover to tackle the more stubborn areas.
After the residue is gone, wipe the laptop with a clean, damp cloth to remove any remaining residue or solution.
Finally, allow the surface to dry completely before using your laptop again.
Tip
To prevent damage to the surface of your laptop, always avoid using harsh chemicals or abrasives while removing stickers and their residue.
Conclusion
In conclusion, knowing how to remove stickers from a laptop is essential for maintaining your device’s clean and professional appearance.
Whether dealing with uncoated or waterproof stickers, finding the best method for your unique situation is crucial without causing any potential damage.
We encourage readers to experiment with different techniques and choose the one most suits their needs.
Remember that taking care during the sticker removal process is paramount, as you do not want to inadvertently cause scratches, leave residues or otherwise harm your laptop’s aesthetics.
By consistently applying patience and persistence, you can transform your laptop into a sophisticated device that enhances your professional appearance.
So, if you haven’t already, start practicing the tips detailed earlier in this article to reclaim a spotless look for your computing device.