Have you ever wondered how your operating system communicates seamlessly with your computer’s hardware? The secret lies in the chipset driver, an unsung hero ensuring that every command is executed without a hitch. As technologies evolve and systems grow more complex, knowing how to update motherboard drivers becomes crucial in maintaining this seamless conversation between the hardware and the operating system.
Dive in to uncover the nuances of this vital process.
Why Update Motherboard Drivers?
- Performance improvements: Updated driver software makes your computer smoother and faster. It’s like boosting your system to keep up with demanding tasks.
- Fixes and patches: Motherboard driver updates often come with fixes that address previously identified issues. This ensures stability and minimizes glitches.
- Compatibility: Having the latest drivers is critical to pair the latest software and hardware seamlessly with your computer. An outdated motherboard driver might not recognize new components, causing potential conflicts.
- New features: Manufacturers frequently innovate, and these innovations reach users through driver updates. Installing the latest drivers unlocks features and capabilities designed to optimize your experience.
How to Update Motherboard Drivers: Manual or Automatic Way
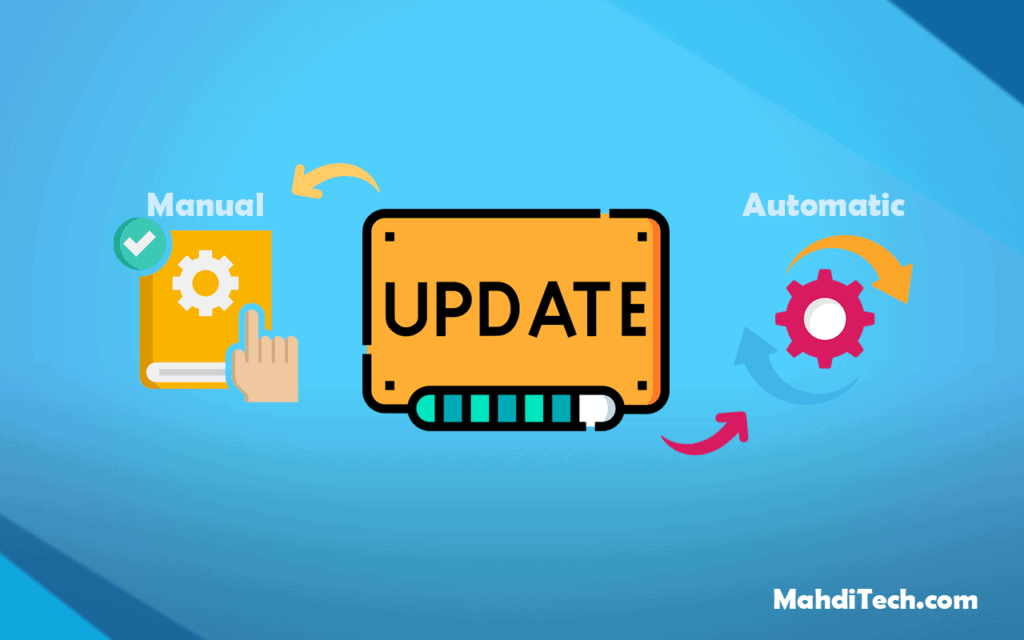
Navigating the world of PC maintenance can be daunting, especially when it comes to ensuring that your chipset driver is up-to-date. Whether you’re looking to update the chipset driver manually for a custom rig or seek an automatically updated driver solution for prebuilt PCs, understanding the process is essential. This guide explores both avenues to help you maintain optimal system performance, regardless of your computer type.
1. The Manual Way:
1. Identify Your Motherboard:
Determining your motherboard’s make and model is essential to begin updating drivers. Here’s a streamlined method:
For Windows users: Access the Windows system via the “Run” dialogue (Windows key + R key). Enter “msinfo32“. In the System Information window, pinpoint “BaseBoard Manufacturer” and “BaseBoard Product.”
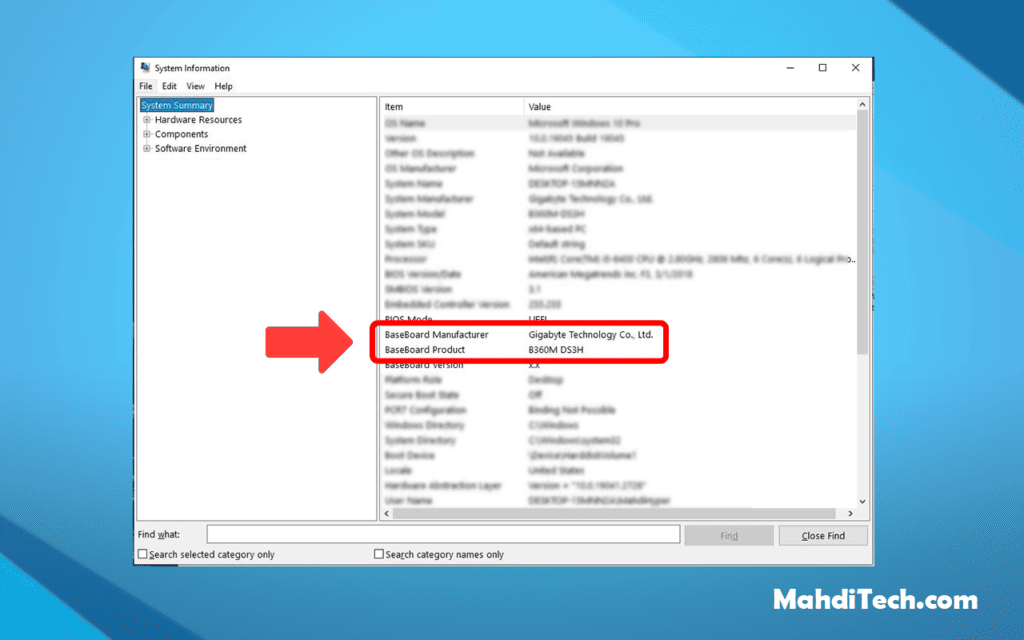
For Linux users: Launch a terminal and input “sudo dmidecode -t baseboard.” This reveals the serial number and model name, providing clarity before the driver updates.
Note:
While the “select device manager” is an alternative way for identifying specific hardware components, it may not always display detailed motherboard information. Hence, the above methods are more direct for our purpose.
2. Visit the Motherboard Manufacturer’s Website:
Once you’ve identified your motherboard’s make and model, it’s time to head to the motherboard’s manufacturer’s website.
ASUS, MSI, Gigabyte, and ASRock are some of the front-runners in the industry. On their official portals, steer towards the support or driver download page. This is the first step if you wish to update chipset drivers manually. Enter the model name in the search bar, and a tailored list of drivers ready for download will appear.
3. Choose the Right Driver:
On the motherboard manufacturer’s website, you’ll find a range of drivers, including ones specific to Windows.
Choosing the driver that aligns with your motherboard and operating system is crucial. Picking the correct version, like for “Windows 10 64-bit” when that’s your OS, ensures a seamless update driver process and optimal system performance.
4. Download and Install:
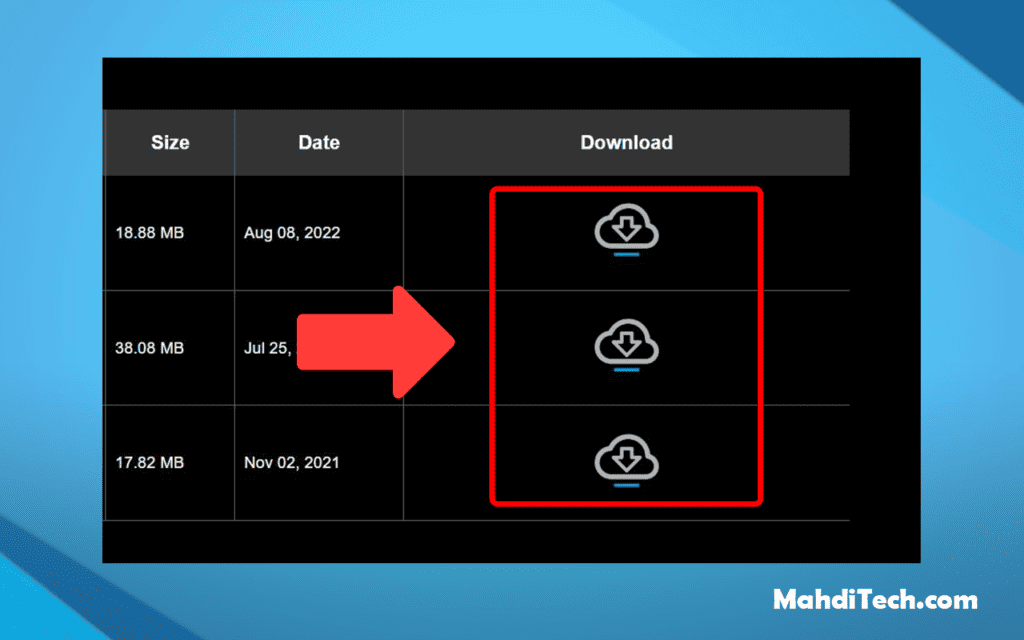
Once you’ve pinpointed the correct driver, proceed to download. Initiate the installation process by opening the downloaded file.
The software interface will guide you, ensuring you properly install motherboard drivers. Adhering to on-screen prompts ensures a correct and efficient installation.
5. Restart Your Computer:
Post-installation of new motherboard drivers, a restart is paramount. This action ensures the system fully integrates the updates. This step solidifies the changes for those opting to update motherboard drivers, guaranteeing smooth performance manually.
2. The Automatic Way:
1. Utilize Automatic Driver Update Tools:

Automatic driver update tools are the solution for a hands-free approach to updating drivers. Tools like Driver Booster and Driver Easy stand out in this domain.
After downloading your chosen tool, input your motherboard model. These utilities search automatically for updated versions, sparing you the manual hunt. Once the tool identifies the latest driver compatible with your system, follow the on-screen instructions for installation.
Some users also rely on Windows Update, which occasionally updates drivers. However, dedicated tools provide a more comprehensive scan, ensuring your system remains at the forefront of performance and security.
2. Restart Your Computer:
After utilizing automatic tools to update drivers, it’s crucial to reboot your system. This step ensures the newly installed drivers are fully integrated and operational, providing optimal performance and stability for your computer.
Tips and Precautions:
Regarding chipset drivers and computer hardware, it’s not just about updating but doing it right. Key aspects, such as backing up current settings, sourcing from authentic sites, and staying updated, can dictate the difference between a smooth experience and a problematic one. Let’s delve into these facets for a comprehensive understanding.
Backup:

Before embarking on any updates, it’s pivotal to shield your system. This entails preserving a copy of the prevailing drivers on Windows, particularly relevant for Cheap PCs that may house various components. Think of this backup as your insurance against potential update missteps.
Avoid third-party websites:
The digital realm is vast, but not all its corners are safe. Procuring drivers from direct motherboard manufacturers remains paramount. Third-party platforms, however enticing, can harbor malware-laden or modified versions, posing a threat to your setup.
Update Regularly:

A computer, much like any intricate machinery, thrives on upkeep. Regular driver refreshes, especially for pivotal components like the GPU, assure compatibility and enhancements. A consistent approach to keeping motherboard drivers updated positions your system for seamless operations, irrespective of the task magnitude.
With these guiding principles, you can optimize your PC’s performance while circumventing potential pitfalls.
Conclusion:
In essence, updating your motherboard drivers, whether manually or automatically, is imperative for a PC’s optimal performance and longevity. You ensure your computer remains compatible, efficient, and secure by carefully identifying your motherboard, selecting the right driver, and utilizing trusted sources.
Remember the value of regular checks, the importance of backups, and the pitfalls of third-party sources. Adhering to these guidelines positions your PC for smooth operation and future-ready adaptability.
FAQ:
Why might someone experience issues with WIFI cards after updating motherboard drivers?
After updating motherboard drivers, some users might encounter issues with WIFI cards due to compatibility discrepancies. It’s essential to ensure that when updating motherboard drivers, the WIFI card’s drivers are compatible with the latest version. If not, a mismatch can lead to connectivity or recognition issues.
How often should one update motherboard drivers to ensure their PC’s worth and longevity?
To maintain the PC’s worth and optimal performance, it’s advisable to check for motherboard driver updates every 3-6 months. Regular updates improve performance and ensure compatibility with other hardware components and software applications.
Can automatic driver update tools compromise my PC’s safety or worth?
While many automatic driver update tools are designed to simplify the process, it’s crucial to use reputable tools from trusted sources. Using unverified or malicious tools can compromise your PC’s safety and reduce its worth by potentially introducing malware or incorrect drivers. Always exercise caution and read user reviews before employing any automatic tool.

